How to Reserve a Campsite on Recreation.gov
A beginner-friendly workflow for finding campsites, reading booking windows, booking fast on release day, and building a backup plan if your first choice is full.
June 9, 2026 / 13 min read
TLDR
- Start with the exact campground or park page, then read the facility's Seasons and Fees or Seasons and Booking information before picking dates.
- Most popular federal campsites are easier to book when you know the release time, log in early, keep one browser window open, and have backup sites ready.
- A campsite in your cart is not yours forever. Recreation.gov notes that some high-demand campsite carts expire quickly, so complete checkout without drifting into extra research.
- If your first dates are full, look for weekday stays, shoulder-season windows, nearby campgrounds, availability alerts, cancellations, and first-come sites with realistic arrival plans.
- Save the reservation, cancellation rules, campground map, check-in details, and backup camps with the rest of your trip plan so the group knows exactly what was booked.
Start with the right kind of campground
Recreation.gov is the main reservation system for many federal campgrounds, cabins, day-use sites, tours, permits, and timed-entry experiences. If you are trying to reserve a campsite in a national park, national forest, Army Corps lake, BLM area, wildlife refuge, or another federal recreation site, there is a good chance the booking path runs through Recreation.gov. It is not the only camping reservation system in the United States, and not every public campground uses it, so the first step is making sure your target campground is actually listed there.
For beginners, the easiest path is to work from the official land-manager page and then follow its reservation link. The National Park Service says many park campgrounds require reservations through Recreation.gov, but it also tells visitors to use park websites for park-specific camping information. That matters because the park or forest page often explains local rules, seasonal access, construction closures, vehicle limits, generator hours, food storage, fire restrictions, and what to expect when you arrive.
Before you search random map pins, decide what kind of trip you are booking. A developed campground with numbered sites is different from a group site, an RV site, a cabin, a lookout, a backcountry permit, or a first-come campground. Filters help, but they do not replace reading the facility page. A site that looks available may not fit your tent, vehicle length, trailer, pet, accessibility needs, arrival time, or group size.
Read the facility page before you pick dates
Every campground page has details that can change the whole plan. Look for the season, booking window, release time, check-in and check-out times, maximum stay, maximum people and vehicles per site, vehicle length, tent pad information, hookups, drinking water, bathrooms, dump stations, fire rules, food storage, road access, and the cancellation policy. If you are booking a popular place, read these before release day instead of trying to learn them while the best sites disappear.
The phrase booking window is important. Recreation.gov explains that a booking window tells you when certain dates become available, and that booking windows are set by each facility. Recreation.gov's popular-location advice says many campsites can be booked six months before arrival, while some places use shorter windows or a mix of windows. The campground's season and booking information is the authority for that specific place.
Do not assume the first available date on the calendar means the whole campground works the same way. Some campgrounds release all sites on the same schedule. Others release part of the inventory early and hold some for later. Some locations have rolling releases, staged releases, lottery periods, local exceptions, or different rules for group sites. If the facility page points to a park alert, forest order, or local campground page, open that too.
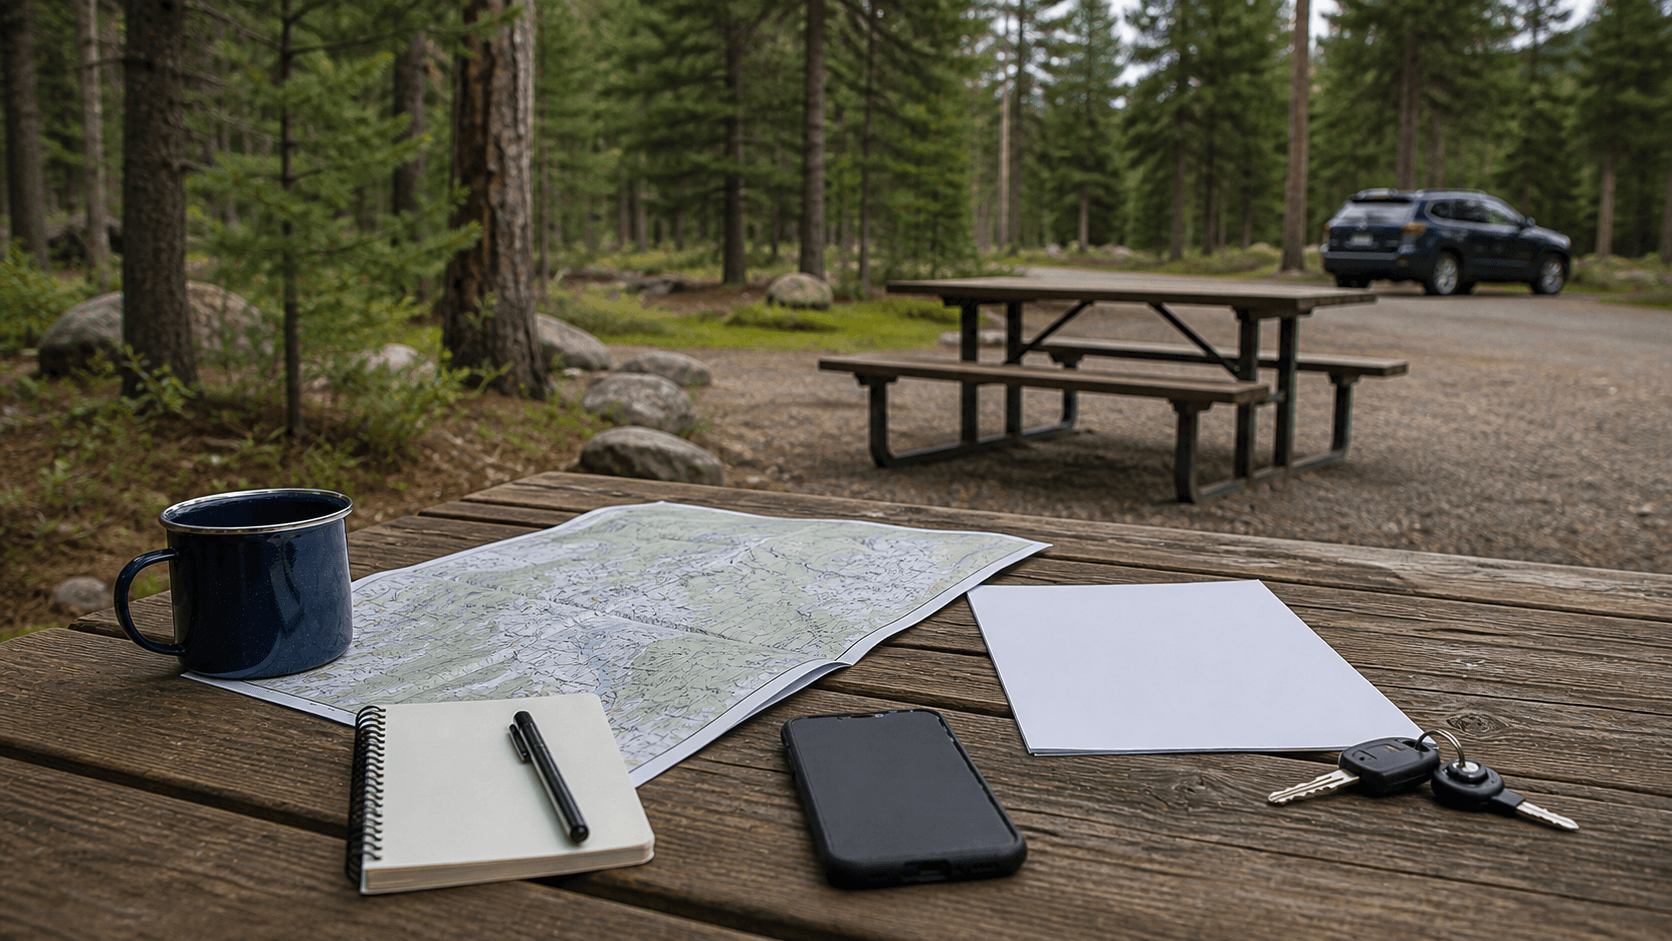
Make a short list of sites
Do not go into release morning with one perfect campsite in mind. Pick a first choice, several acceptable sites, and a few nearby campgrounds. Use the map, photos, site driveway length, shade notes, distance to bathrooms, generator rules, and tent pad information to decide what is acceptable for your group.
A practical shortlist is better than a dream list. If you are arriving after dark, a simple site near the entrance may be better than a scenic spur road with confusing loops. If you are bringing a trailer, driveway length and turning room matter more than the prettiest photo. If you are camping with kids or new campers, bathrooms, water, and a manageable walk may matter more than privacy.
Prepare your account and payment details
Create or log in to your Recreation.gov account before the booking window opens. Recreation.gov says accounts are needed for most reservations because they help enforce policies and provide reservation-related updates and closure information. Waiting until the last minute to reset a password is one of the easiest ways to miss a competitive campground.
Before release day, confirm your email, phone number, payment card, pass information, and trip dates. If the campground honors an Interagency Senior or Access Pass discount for individual campsites, read the pass rules carefully. Recreation.gov's reservation policies explain that eligible pass discounts apply only to some recreation fees and that the pass holder must occupy the discounted site.
Use one clean booking setup. Recreation.gov warns that logging in to multiple browsers, tabs, or windows with the same account can trigger extra verification during high-demand releases. That does not mean you cannot research with your group beforehand. It means that on booking morning, the person checking out should have one clear path, one account, one payment method, and a short list of backup choices.
Book fast on release day
On release day, log in early and open the campground page before the sale time. Add your dates, filters, and preferred loop if those filters help you move faster. Recreation.gov's own advice is to be ready at the exact release time, check the campground's sale time on the facility page, and have backup campsites in mind. Popular campgrounds can book quickly, especially around weekends, holidays, school breaks, peak wildflower seasons, fall color, and famous national park corridors.
When the inventory opens, choose an acceptable site and add it to your cart. Do not stop to compare every photo if your first-choice site disappears. Recreation.gov says that once some high-demand campsites are added to the cart, the cart hold can be limited, and unfinished reservations are released back to other visitors when the hold expires. Treat the cart as a short checkout window, not as a time to restart your research.
If you do not get your first site, keep moving through your backup list. Weekday stays, Sunday-through-Thursday trips, shorter stays, shoulder-season trips, and less famous campgrounds often have better odds. Recreation.gov also suggests considering nearby recommended sites when the campground you wanted is full.
Do not let the perfect site block the trip
The best campsite is not always the one with the prettiest thumbnail. A site you can actually reserve, reach safely, and use legally is better than a perfect site you lose while debating. If the goal is a first national park camping trip, a family weekend, or a reliable stop on a longer road trip, choose the site that supports the trip rather than the site that wins the photo contest.
It is also okay to split a stay across sites if the campground allows it and your group can handle moving. Recreation.gov mentions that some visitors may need to string together multiple campsites when one site is not available for a whole stay. That can be annoying, but it may be easier than changing the entire trip.
Understand fees, cancellations, and no-shows
Reservation costs are not just the nightly campsite fee. Recreation.gov's standard policies explain that reservation fees are separate from recreation fees and are generally non-refundable. Changes, cancellations, late cancellations, early departures, and no-shows can all have different consequences. Local facility rules can also supersede the site-wide policies, so always check the campground page before you book.
For individual campsites, Recreation.gov says cancelling the day before or the day of arrival can trigger a service fee and the loss of the first night's use fee. A no-show can carry a service fee and forfeiture of the first night's recreation fee. These details are not just accounting. Cancelling properly also lets staff know you will not be there and can make room for another camper.
Add the cancellation deadline to your trip plan right after you book. If your group is still deciding, write down the last date when you can cancel or change with the least penalty. If weather, wildfire smoke, road closures, illness, or vehicle trouble makes the trip unrealistic, cancel instead of silently no-showing. It is better for your wallet, the campground staff, and the next person trying to get outside.
Use alerts and cancellations without depending on them
If the campground is full, set an availability alert where Recreation.gov offers one. Recreation.gov says availability alerts can send an email or notification when a matching booked campsite becomes available, but they do not guarantee a reservation because other people may receive the same alert. Treat alerts as one more chance, not as the whole plan.
Cancellations often appear at unpredictable times. People change plans when weather shifts, work schedules change, school calendars move, wildfire smoke arrives, or a road closure makes a destination less appealing. Check again, especially around common cancellation deadlines, but do not build a beginner trip that only works if a last-minute miracle happens.
A stronger plan combines alerts with real alternatives. Save nearby federal campgrounds, state parks, private campgrounds, first-come options, and a legal dispersed-camping fallback if that style of camping is appropriate for your group. Campora fits naturally here: keep your reservation link, backup campgrounds, map notes, cancellation date, arrival plan, and group decisions together instead of scattering them across text threads and screenshots.
Know when first-come means something different
First-come, first-served camping does not mean the same thing everywhere. In some places, you arrive, find an empty site, fill out a fee envelope, and post the receipt. In other places, a campground that used to be first-come may now require reservations, scan-and-pay, or a local mobile workflow. Recreation.gov's popular-location guidance notes that some locations that were once first-come may now require advance reservations.
Glacier National Park's first-come guidance is a good example of why local rules matter. The park explains how to identify an unoccupied site, pay using the required local process, post the receipt, and avoid leaving belongings unattended beyond the allowed limit. Those steps are specific to that park and can change by campground and season.
If you are counting on first-come camping, plan around arrival time, daylight, fuel, backup lodging, and how tired your group will be if the campground is full. Most beginners should not make a high-demand first-come campground their only option on a Friday evening. Pair it with a reserved campground nearby, a less popular first-come backup, or a realistic turn-around plan.
Save the details you will need at the campground
After checkout, do not leave the reservation buried in your inbox. Save the confirmation number, dates, site number, campground map, check-in and check-out times, gate or arrival instructions, vehicle limits, food-storage rules, generator hours, fire restrictions, water status, bathroom status, and emergency contact information. Download anything you will need before you lose service.
If the campground uses the Recreation.gov mobile app for reservation access, booking details, or scan-and-pay, install and sign in before the trip. Recreation.gov says its app can help visitors find and reserve campsites, review location details, and access past and upcoming reservations. That is useful, but it should not be your only copy of critical information when you are driving into a canyon, forest, desert basin, or mountain road with weak service.
Share the important details with the whole group. Everyone should know where you are staying, when you are arriving, what site was booked, who holds the reservation, what the backup plan is, and what would make you cancel or change plans. Good reservation planning is not just getting a campsite. It is making the trip easier to execute once the campsite is yours.
A simple reservation workflow
Here is the beginner version. First, choose the exact park, forest, lake, or campground you want and open the official land-manager page. Second, follow the official link to Recreation.gov and read the facility page, including booking window, season, fees, rules, site limits, cancellation details, and local alerts. Third, build a shortlist of acceptable sites and nearby backups.
Fourth, prepare your account and payment details before release day. Fifth, log in early, use one clean booking window, and book the first acceptable site when inventory opens. Sixth, save the reservation, cancellation deadline, campground map, and arrival details with your trip plan. Seventh, set availability alerts or check cancellations only after you have a real backup plan.
The point is not to beat every other camper. The point is to remove avoidable guesswork. A campsite reservation is one part of a larger trip plan: where you are sleeping, how you are getting there, what rules apply, what the weather might do, what your group expects, and what you want to remember for the next trip.
Sources
More Campora Guides
View allJuly 21, 2026
How to Store Food While Camping in Bear Country
A beginner-friendly workflow for bear country food storage, scented items, coolers, canisters, lockers, campsite cleanup, and local rules.
July 14, 2026
Types of Camping Knives and What Each One Is For
Learn the main types of camping knives, what each one is best for, and how to choose a safer camp blade for cooking, repairs, and trail use.
June 30, 2026
Camping Food List for Beginners: What to Pack
Build a simple beginner camping food list with easy meals, safe cooler packing, water planning, snacks, cleanup, and wildlife-safe storage.